Introduction
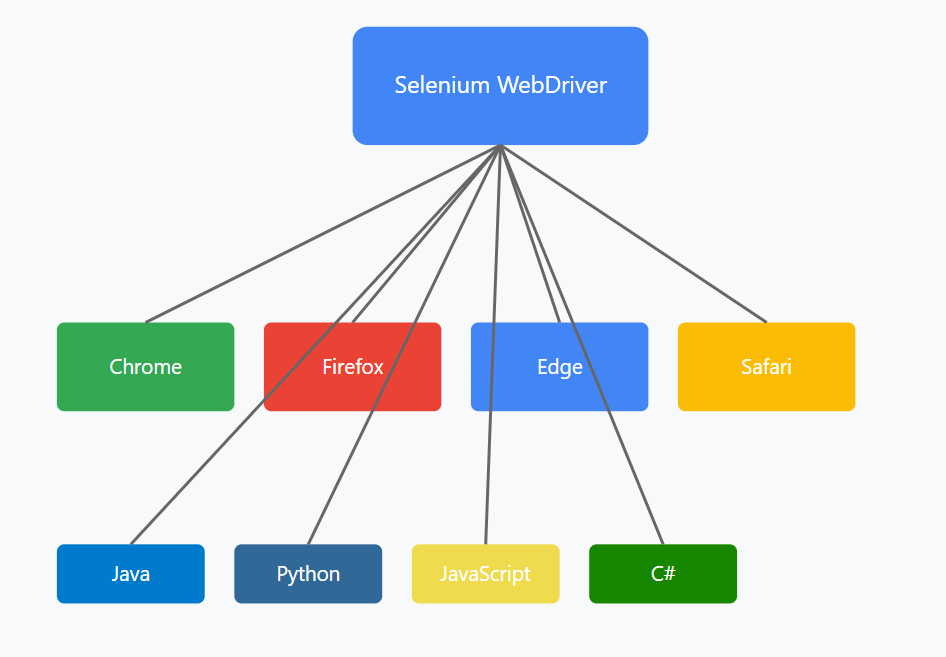
If you’re venturing into the world of web automation, Selenium WebDriver is a must-know tool. It’s a powerful, open-source tool for automating web browsers, making it ideal for testing, scraping, and automating routine tasks. This article is a beginner-friendly guide on how to get started with Selenium WebDriver using Java. We’ll walk you through the setup process and demonstrate how to write a simple code snippet to launch Chrome and open Google.
Prerequisites
To follow along, you’ll need:
- Java Development Kit (JDK) installed on your machine.
- Eclipse IDE or any Java-compatible Integrated Development Environment (IDE).
- Selenium WebDriver library.
- ChromeDriver, which is necessary to run Chrome with Selenium.
Step 1: Setting Up Your Selenium Environment
Before diving into the code, let’s set up Selenium in your development environment.
1. Download JDK and Configure Java
- Download the latest version of the Java Development Kit (JDK) and install it.
- Set the JAVA_HOME environment variable to the JDK installation directory.
2. Set Up Eclipse (or Any Java IDE)
- Download and install Eclipse IDE for Java developers.
- Open Eclipse and create a new Java project.
3. Download Selenium WebDriver
- Go to the Selenium website and download the Selenium Java Client.
- Add the downloaded JAR files to your Java project in Eclipse:
- Right-click on your project > Properties > Java Build Path > Add External JARs.
- Select all the Selenium JARs and add them to your project.
4. Download ChromeDriver
- Go to the ChromeDriver download page and download the ChromeDriver version compatible with your Chrome browser version.
- Extract the downloaded file and remember the path, as you’ll need it in the code.
Step 2: Writing the Selenium WebDriver Code
Now that your environment is set up, let’s get to coding! Our goal is to write a Java program that will:
- Open the Chrome browser.
- Navigate to Google.com.
Here’s a simple example to get you started.
Java Code to Launch Chrome and Open Google
import org.openqa.selenium.WebDriver;
import org.openqa.selenium.chrome.ChromeDriver;

public class LaunchChrome {

public static void main(String[] args) {
// Step 1: Set the path for the ChromeDriver
System.setProperty("webdriver.chrome.driver", "path/to/chromedriver");

// Step 2: Initialize a new instance of ChromeDriver
WebDriver driver = new ChromeDriver();

// Step 3: Open Google
driver.get("https://www.google.com");

// Optional Step: Print the title of the page to verify that Google opened
System.out.println("Page title is: " + driver.getTitle());

// Close the browser after a few seconds (optional for testing purposes)
try {
Thread.sleep(3000); // Waits for 3 seconds
} catch (InterruptedException e) {
e.printStackTrace();
}

// Step 4: Close the browser
driver.quit();
}
}
Code Explanation:
- Set the Path for ChromeDriver:
- Replace “path/to/chromedriver” with the absolute path where you downloaded and extracted ChromeDriver.
- Initialize ChromeDriver:
- new ChromeDriver() creates an instance of Chrome. The WebDriver interface is used to reference it, allowing flexibility to switch to different browsers if needed in the future.
- Open Google:
- driver.get(“https://www.google.com”) opens Google’s homepage.
- Print Page Title (Optional):
- driver.getTitle() fetches the title of the page and prints it to the console. This step is useful for verifying that the page opened correctly.
- Wait and Quit the Browser:
- Thread.sleep(3000) pauses the program for 3 seconds to allow you to see Google.com loaded.
- driver.quit() closes the Chrome browser.
Step 3: Running the Program
- Save your Java file in Eclipse.
- Right-click on the file > Run As > Java Application.
- If everything is set up correctly, Chrome should launch and open Google.com.
Congratulations, You have successfully launched chrome driver!

